Integration Steps
Integrate Durianpay API with your website to start accepting online payments from your customers. Durianpay supports a slew of payment methods such as bank transfers/VA, credit and debit cards, e-wallets (OVO, Dana, Linkaja) and others. Our DurianPay library provides all the essential features for integrating Durianpay API with the client-side of your application.
If you have not followed through preparation Step, please go through Preparation
Steps Overview
- Step1: Create an order/token from the server
- Step2: Create payments charge from the server
- Step3: Webhooks / Store fields on your server
- Step4: Verify payment status (Optional)
Step1: Create an order from the server
Use following endpoint to create an order
You can use your preferred programming language to implement
create orderAPI or it can be done via Durianpay Server SDK
var request = require('request');

var options = {
    method: 'POST',
    url: 'https://api.durianpay.id/v1/orders',
    headers: {
        authorization: '[Base64({Your_Server_Key}:)]',
        'content-type': 'application/json',
    },
    body: '{    "amount": "10000.67",    "payment_option": "full_payment",    "currency": "IDR",    "order_ref_id": "order_ref_001",    "customer": {        "customer_ref_id": "cust_001",        "given_name": "Jane Doe",        "email": "jane_doe@nomail.com",        "mobile": "85722173217",        "address": {            "receiver_name": "Jude Casper",            "receiver_phone": "8987654321",            "label": "Jude\'s Address",            "address_line_1": "Jl. HR. Rasuna Said",            "address_line_2": "Apartment #786",            "city": "Jakarta Selatan",            "region": "Jakarta",            "country": "Indonesia",            "postal_code": "560008",            "landmark": "Kota Jakarta Selatan"        }    },    "items": [        {            "name": "LED Television",            "qty": 1,            "price": "10001.00",            "logo": "https://merchant.com/product_001/tv_image.jpg"        }    ],    "metadata": {        "my-meta-key": "my-meta-value",        "SettlementGroup": "BranchName"    }}',
};

request(options, function (error, response, body) {
    if (error) throw new Error(error);

    console.log(body);
});

// Create Orders
dpay.orders.create(options).then(resp => {
    console.log(resp);
    // order_id = resp.order_id;
})
.catch(error => {
    console.log(error.err + ' | ' + JSON.stringify(error.data));
});// Sample response
{
"data": {
"id": "ord_0dIWbuDJQ84078",
"customer_id": "cus_ViPeX4iBYp2233",
"order_ref_id": "order_ref_001",
"amount": "10001.00",
"payment_option": "full_payment",
"currency": "IDR",
"status": "started",
"created_at": "2021-04-01T14:39:37.860426Z",
"updated_at": "2021-04-01T14:39:37.860426Z",
"expiry_date": "2022-03-29T10:00:00Z",
"metadata": {
"my-meta-key": "my-meta-value",
"SettlementGroup": "BranchName"
},
"items": [
{
"name": "LED Television",
"qty": 1,
"price": "10001.00",
"logo": "https://merchant.com/product_001/tv_image.jpg"
}
],
"access_token": "adsyoi12sdASd123ASX@qqsda231"
}
}
Learn more about Orders API
Step 2: Create payments charge from the server
Use following endpoint to create a Payment Charge.
You can create a
payment chargeby using your preferred programming language or it can be done via Durianpay Server SDK
{
  "error": "error message",
  "error_code": "DPAY_INTERNAL_ERROR"
}
Learn more about Payment Charge API
Step3: Webhooks / Store fields on your servers
Whenever certain transaction actions occur on your Durianpay API integration, we trigger events which your application can listen to. This is where webhooks come in. A webhook is a URL on your server where we send payloads for such events. For example, if you implement webhooks, once a payment is successful, we will immediately notify your server with a payment.completed event. Here is a list of events we can send to your webhook URL.
You can specify your webhook URL on your dashboard where we would send POST requests to whenever an event occurs.
Valid events
payment.completed payment.failed, payment.cancelled, order.created, order.completed
{
  "event": "payment.completed",
  "data":{
    "id": "pay_dAS123ad123Asd",
    "signature": "9e892f199d026d06a56669e658a56f264610431d24e8b4d07f7bd46f6d5062d2",
    "order_id": "ord_XXXXXXXXX",
    "amount": "10000",
    "currency": IDR,
    "paid_at": "2016-09-30T21:10:19.000Z",
    "created_at":"2016-09-30T21:09:56.000Z",
    "metadata": {
      "key": "value"
    },
}
Alternatively, you can also call Payment Status check APIs as mentioned in Step 4.
Step4: Verify payment status (Optional)
You will get payment_id through webhook callback (if configured). You should ideally try to validate the payment and store the details in your server/database against the order/transaction accordingly.
First, you need to get verification signature from Durianpay which would have been provided to you in your webhook callback.
{
  "event": "payment.completed",
  "data":{
    "id": "pay_dAS123ad123Asd",
    "signature": "9e892f199d026d06a56669e658a56f264610431d24e8b4d07f7bd46f6d5062d2",    ...
}
This signature is computed by us using payment_id, amount and your secret key. You need to create the hash on your server/backend where you have all these elements and match with the signature provided by us.
Sample code for signature generation
// Function to generate the signature for verification of payment
//use appropriate key if it is a sandbox order please use dp_test key and if it is a live order then use dp_live key
func GenerateSignature(paymentID string, amount string, accessKey string) (generatedSignature string) {
  //message passed includes payment_id + “|” + amount. Amount is in “15000.00” format
  secretData := paymentID + "|" + amount
  // Create a new HMAC by defining the hash type and the key (as byte array)
  h := hmac.New(sha256.New, []byte(accessKey))
  // Write Data to it
  h.Write([]byte(secretData))
  // Get result and encode as hexadecimal string
  generatedSignature = hex.EncodeToString(h.Sum(nil))
  return
}
If you didn't receive the signature for any reason, you can call payment status check API from your server/backend which will respond back with signature if status of payment is completed.
"status": "completed",
"is_completed": true,
"signature": "9e892f199d026d06a56669e658a56f264610431d24e8b4d07f7bd46f6d5062d2"
Test Integration
Test payments
Sandbox Mode
To simulate the charge API flow in sandbox mode, merchants can use dp_test_XXXXXXXXX key. By default we will simulate the success scenario.
If you want to simulate the failure scenario, you should use the sandbox_options json field in the request. This contains force_fail and delay_ms fields.
| Field | Description |
|---|---|
| force_fail | bool Make this field as true in the request if you want to simulate failure scenario. |
| delay_ms | integer If you want to simulate a delay in making the payment as success or failed, give a value in milliseconds in this field in the request. |
Note: Currently sandbox_options is supported for VA, E-Wallet and RetailStore.
Example request for charge API in sandbox.
curl -u <YOUR_SECRET_KEY> \
-X POST https://api.durianpay.id/v1/payments/charge \
-H "content-type: application/json" \
-d '{
    "type": "VA",
    "request": {
        "order_id": "ord_aiFBiqVWwk8596",
        "amount": "925002.00",
        "bank_code": "BCA",
        "name": "Bauch Leannon and Donnelly Jude Casper",
        "save_preferences": true,
        "address_id": 4028,
        "customer_info": {
            "id": "cus_lqbboIkqI80314",
            "given_name": "Jude Casper",
            "email": "jude.casper@testmail.com",
            "mobile": "+6285722173250"
        }
    },
    "sandbox_options": {
        "force_fail": true,
        "delay_ms": 10000
    }
}'
Example response for sandbox.
{
    "data": {
        "type": "VA",
        "response": {
            "payment_id": "pay_lZqgqy5mQz0234",
            "order_id": "ord_aiFBiqVWwk8596",
            "account_number": "1111111111",
            "expiration_time": "2022-01-11T09:01:18.083714Z",
            "paid_amount": ""
        }
    }
}
Verify Payment status
Through Dashboard
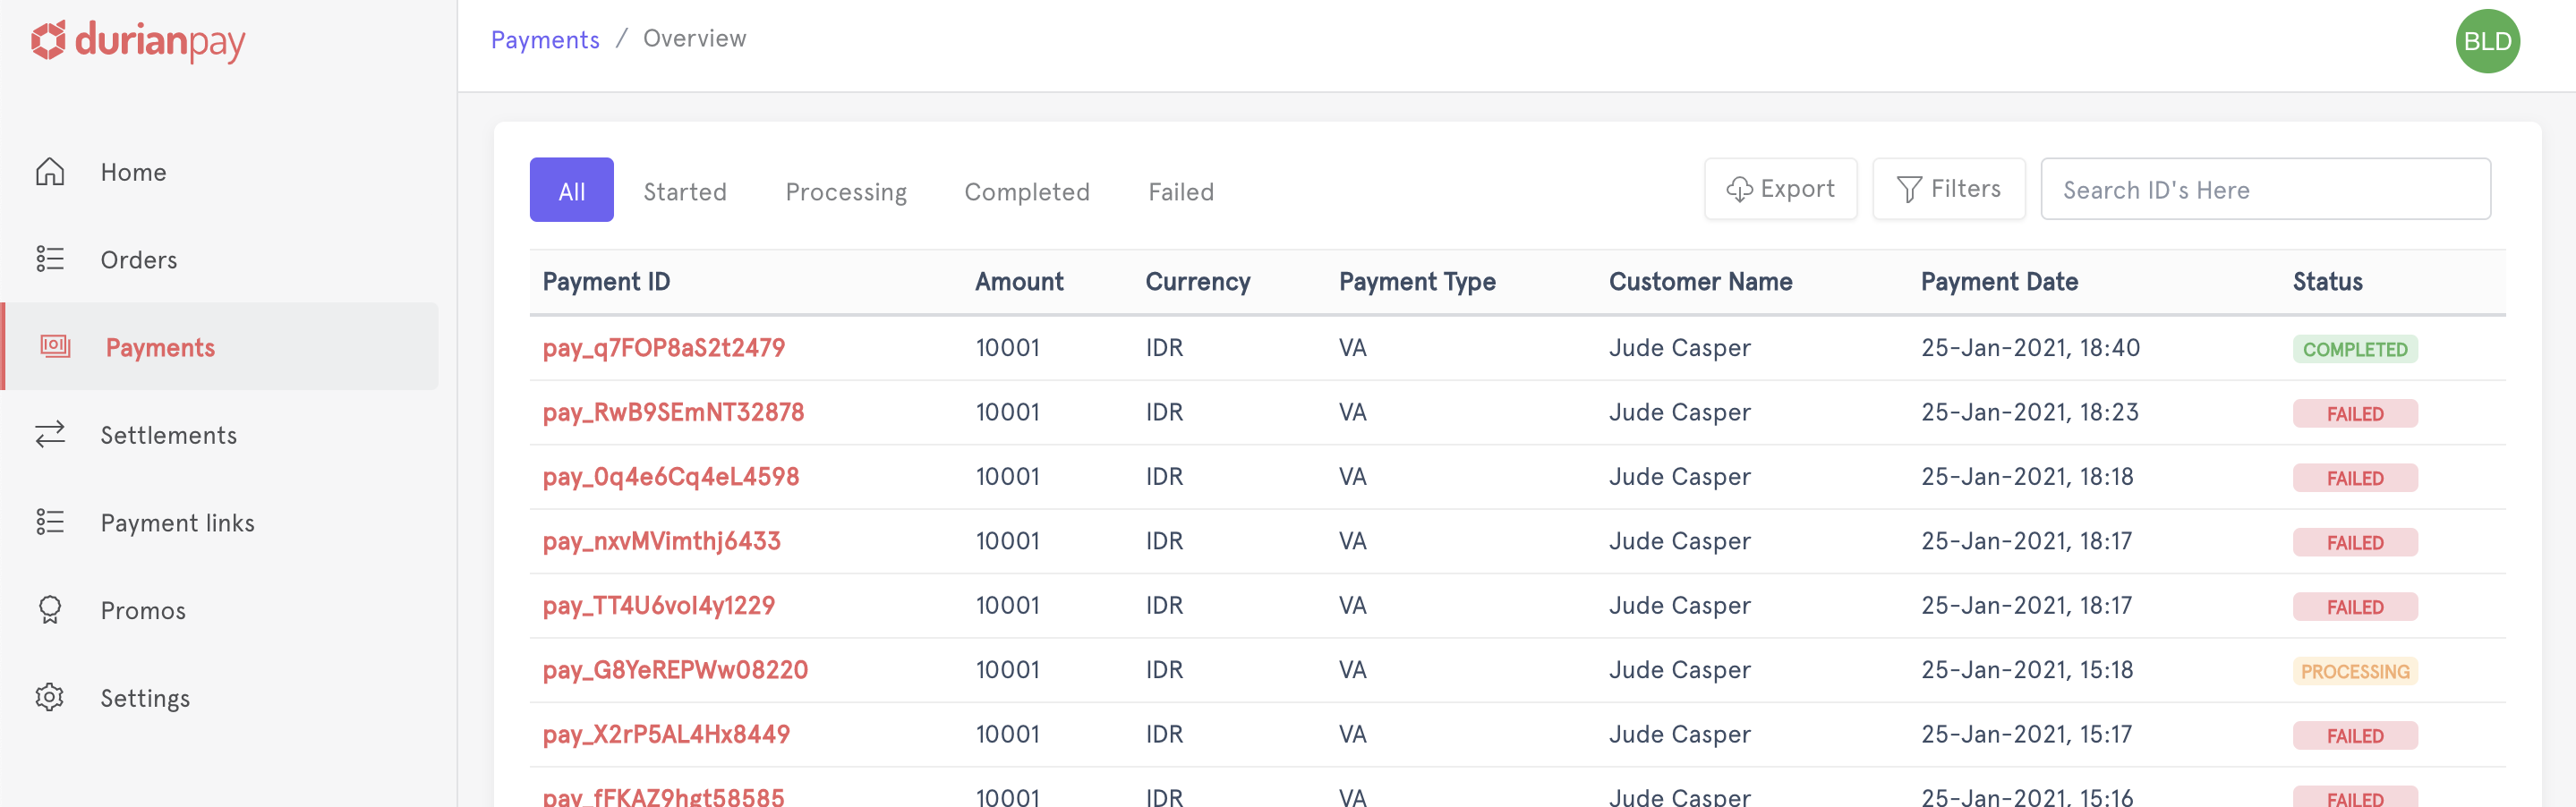
- Log into the Dashboard and navigate to Payments in sidebar.
- Check if a
payment_idhas been generated. If nopayment_idhas been generated, it means that the transaction has failed (and didn't even initiate from user's end)
Through APIs
Use following endpoint to do status check on a payment (Read more about Payment Status Check API)
curl -u <YOUR_SECRET_KEY> \
-X GET https://api.durianpay.id/v1/payments/pay_B14sdfwAdmmSDF24a/status \
-H "content-type: application/json"'{
"data": {
"status": "completed",
"is_completed": true,
"signature": "9e892f199d026d06a56669e658a56f264610431d24e8b4d07f7bd46f6d5062d2"
}
}Accept LIVE payments
After testing the flow of funds end-to-end in sandbox mode, you can switch to the live mode and start accepting payments from your customers. However, make sure that you swap the test API keys with the live keys.
- Log into Dashboard and switch to
Livemode on the sidebar menu. - Navigate to Settings → API Keys to access your API key for live mode.
- Replace the
sandboxAPI key with theLiveKey in the Checkout code and start accepting real-time payments.